Ensuring Your Shed Is Protected In Winter | A-Chem
8 Ways to Prepare Your Shed for Winter
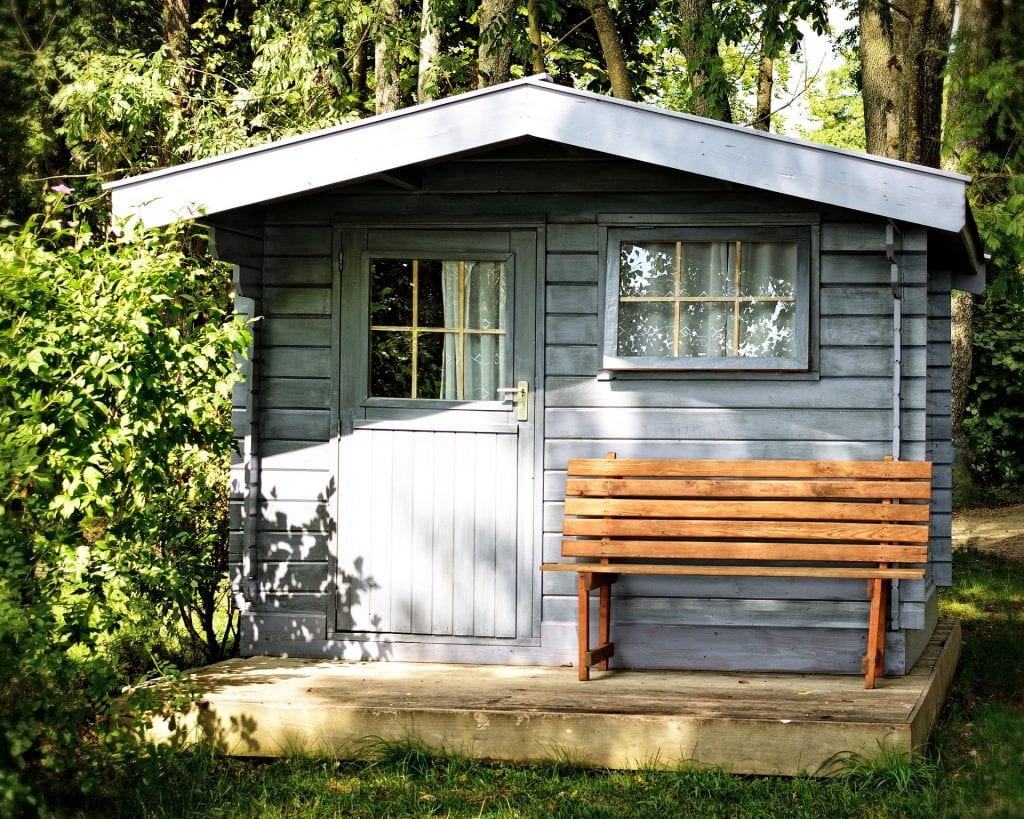
Garden Sheds are perfect for protecting your lawnmower and tools from the elements. It is important to prepare your shed for winter, to ensure that it stays water-tight and dry during the colder months. You should carry out repairs and preventative measures before the winter weather sets in.
By following our 8 helpful tips, you can be sure that your shed will survive through the winter.
1. Repair Your Roof
Check your shed roof for any holes or tears and be sure to repair it before winter. You should check your shed roof once a year, to ensure that your tools and equipment won’t get ruined by a leak.
You can patch up any holes with extra felt, or replace the roof felt entirely. Check out this helpful guide on repairing your shed roof.
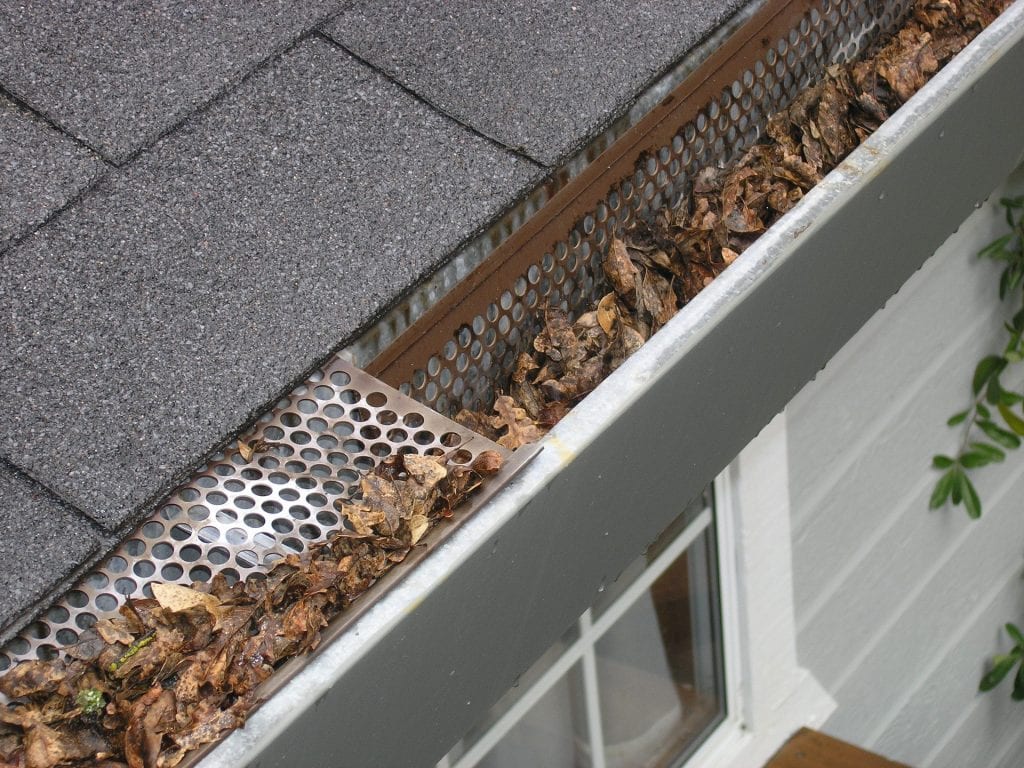
2. Remove Leaves From The Gutter
Keep your gutters clear of leaves to ensure that water can run freely off your shed. This will prevent water from flooding your shed and causing rotting and decay. You can buy gutter guards to make this step even easier.
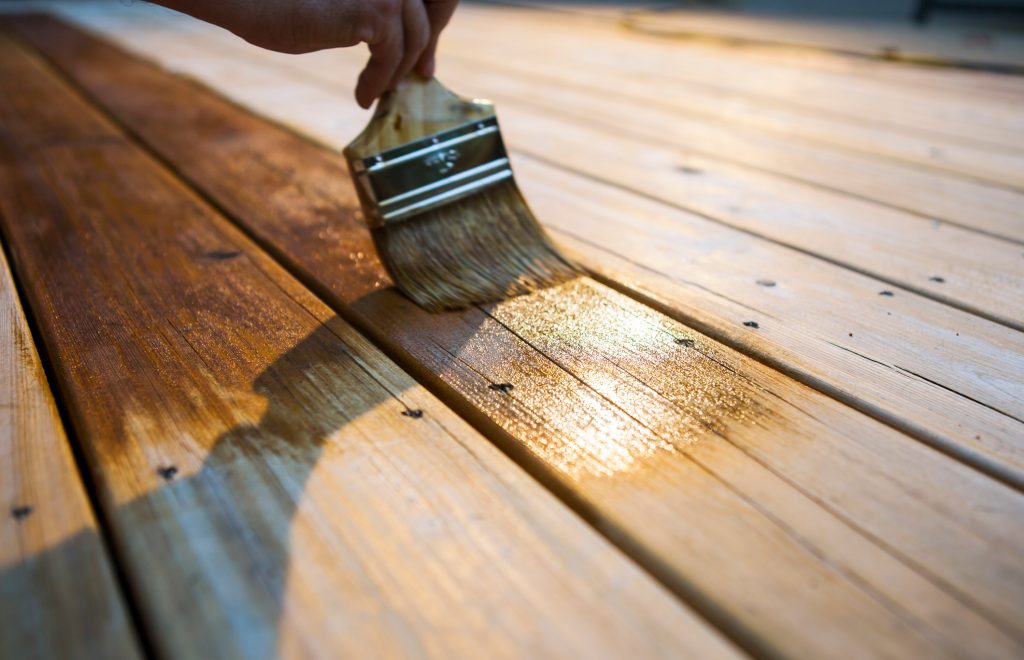
3. Apply a Wood Treatment
Applying a wood treatment will protect your shed from a variety of issues. Our water-based Timbashield Preservative offers excellent protection against wood destroying fungi, blue stain and wood boring insects. It acts as a primer, and requires 2-3 coats using a synthetic paint brush which is designed for water-borne products. The preservative will dry in around 12 hours (at around 20 degrees celsius) but may take longer in colder conditions.
Once you have applied the preservative, you can add an extra layer of protection with our Timbashield Solvent Based Protection. This wood treatment is made from a blend of oils and waxes, perfect for repelling water and preventing it from getting through the wood. Head to the A-Chem shop to buy yours. You can buy this in clear, as well as various other colours to suit your needs. The treatment is a stain, rather than a paint, so it will absorb into the wood for a natural look. You can use our handy Timbashield calculator, to figure out how many litres you will need.
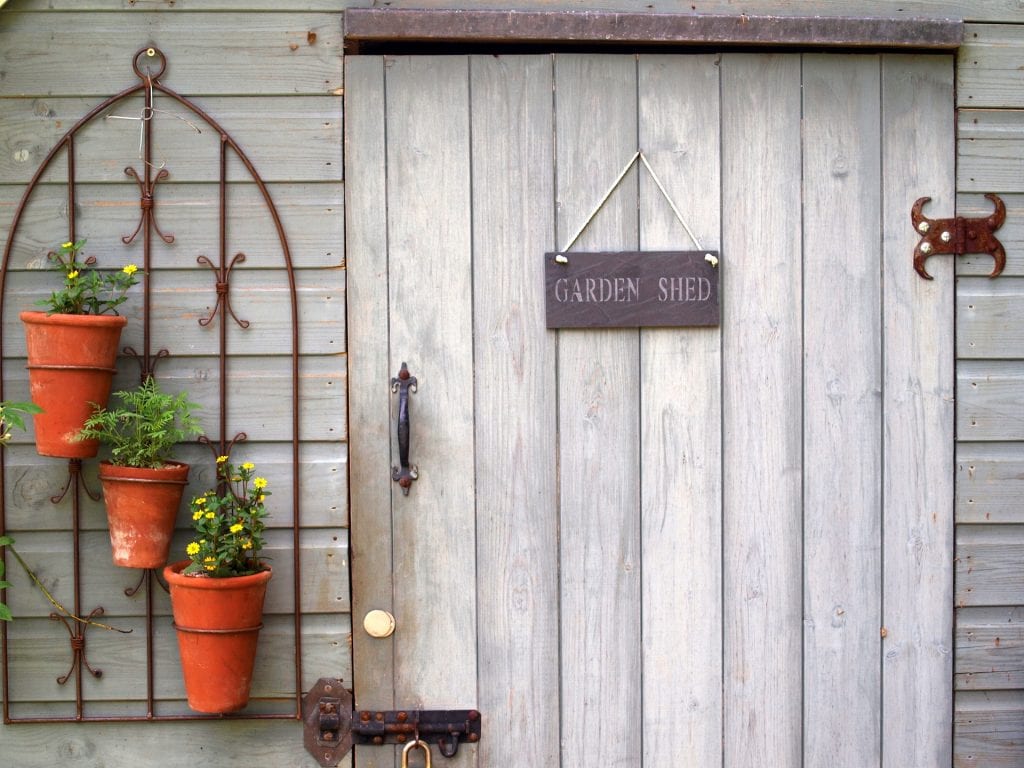
4. Check the Windows and Doors
Check your sheds windows and doors for gaps and decay before winter arrives, to ensure they are water-tight. You should replace any broken glass panes before the weather gets too cold, or reseal them if they are beginning to rot. Look for a waterproof sealant for extra protection.

5. Add a Small Heater
If you use your shed as a workshop, be sure to buy a small heater to keep you warm. Oil-free radiators are safest and will remove the potential for oil leaks.
Having a small radiator in your shed can also help to tackle the issue of condensation. When moisture in the air lands on a cold surface, it causes water droplets to accumulate. This shortens the lifespan of expensive tools, cabinets and even vehicles, by causing rust to develop.
6. Buy Secure Storage for your Tools
To further protect your tools from the elements, ensure that you buy the right storage. Plastic tool boxes will prevent rusting whilst the weather is cold and damp.
You should also buy a large padlock to keep your toolbox secure. Using a combination lock removes the need for keys – which can be lost or stolen.

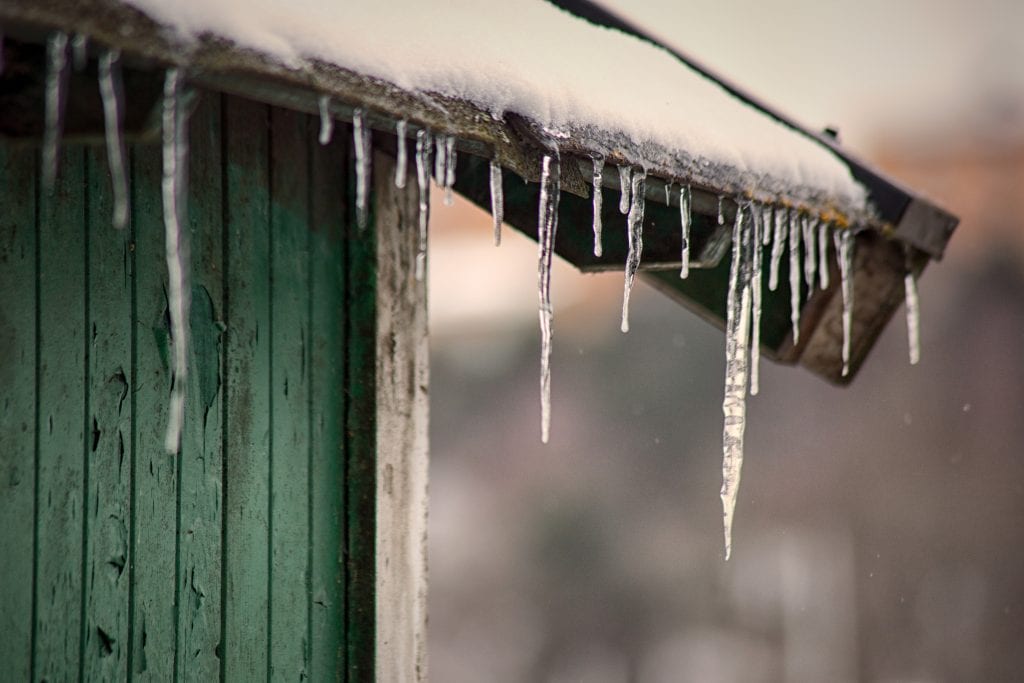
7. Clear Snow Off The Roof
The build-up of snow on your shed roof can weigh it down and cause it to strain. This is worsened when it freezes overnight. It also causes issues when it begins to melt, as a large volume of running water can cause weakening or rotting.
You can use a broom or a large shovel to brush the snow off your shed roof, reducing the weight and the chances of damage being caused. If you use a stepladder, be sure to ask for help to avoid any accidents.
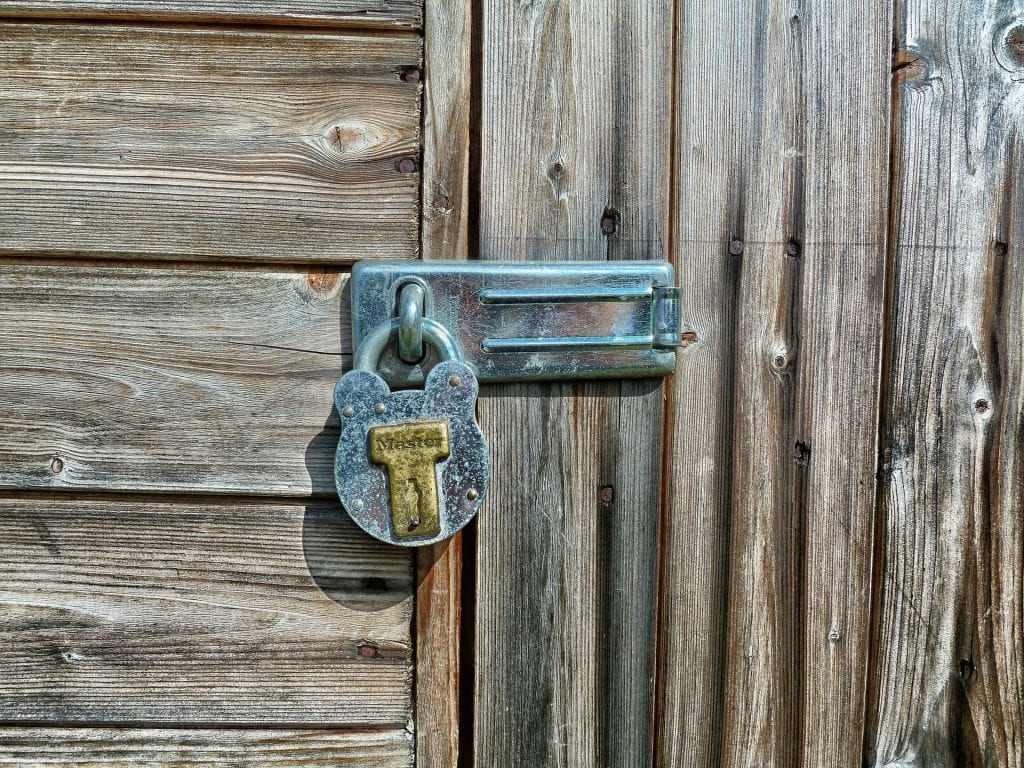
8. Put oil on the locks and hinges
To make your life easier in the spring, add some oil to the locks and hinges for ease of use. Our WD & Pen Oil is a workshop classic and will prevent your locks from seizing up. Add a drop to the lock’s hinge, the slider and the keyhole itself. Be sure to wear gloves and wash your hands thoroughly afterwards.